
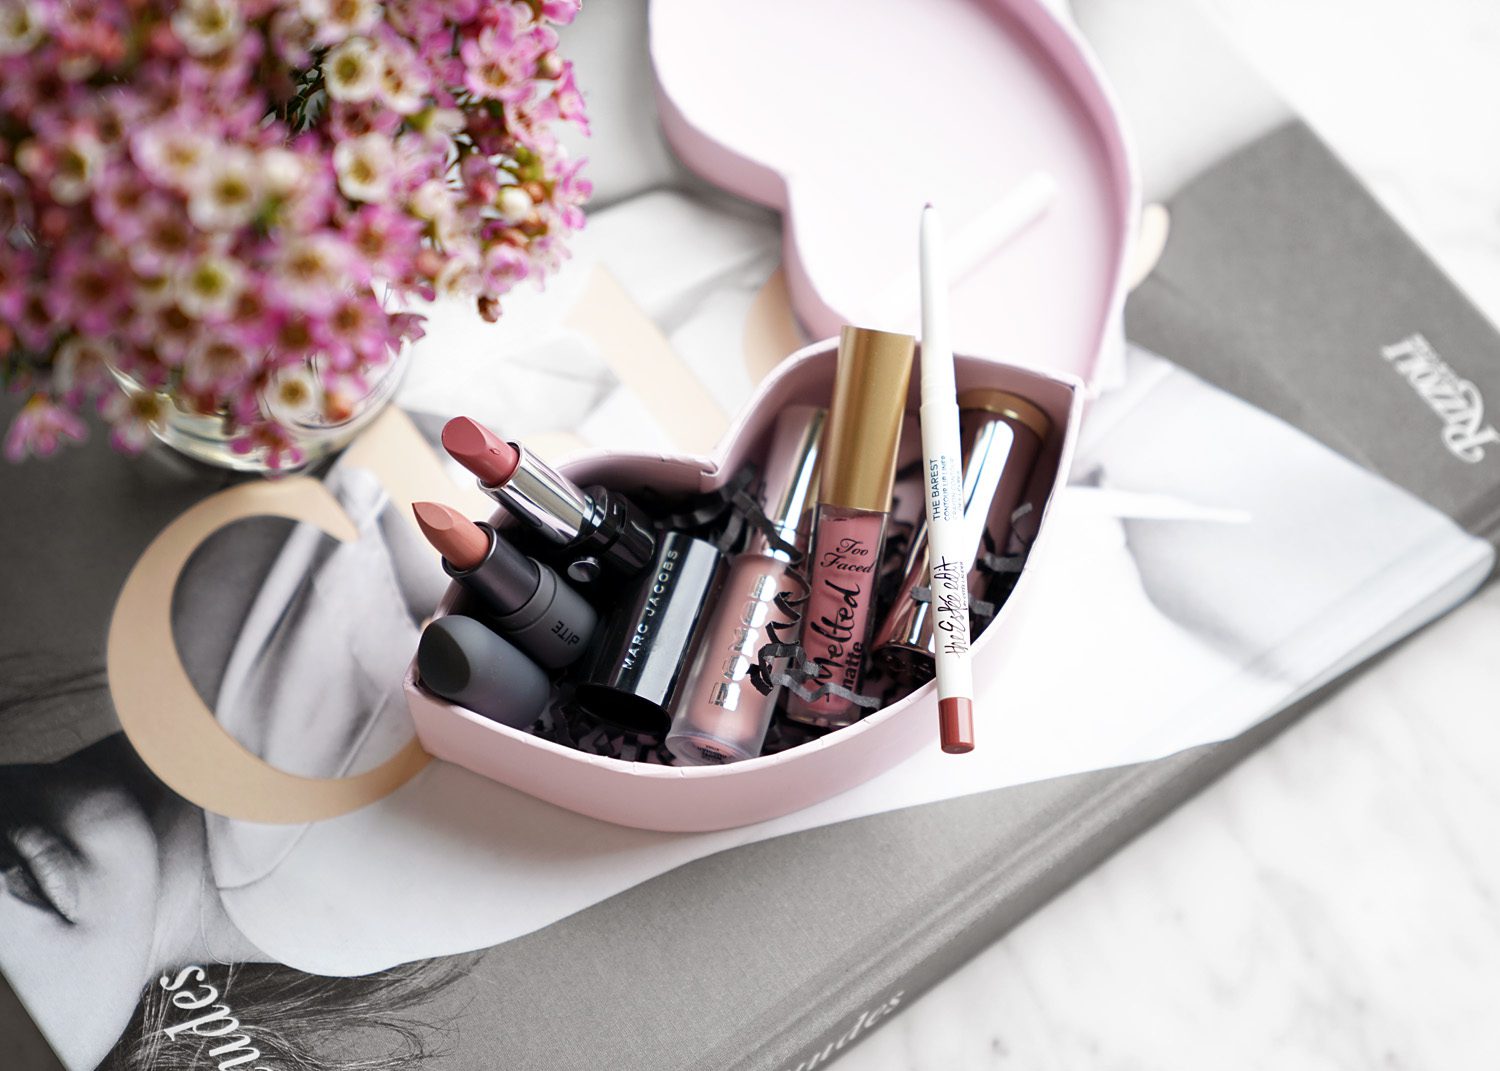
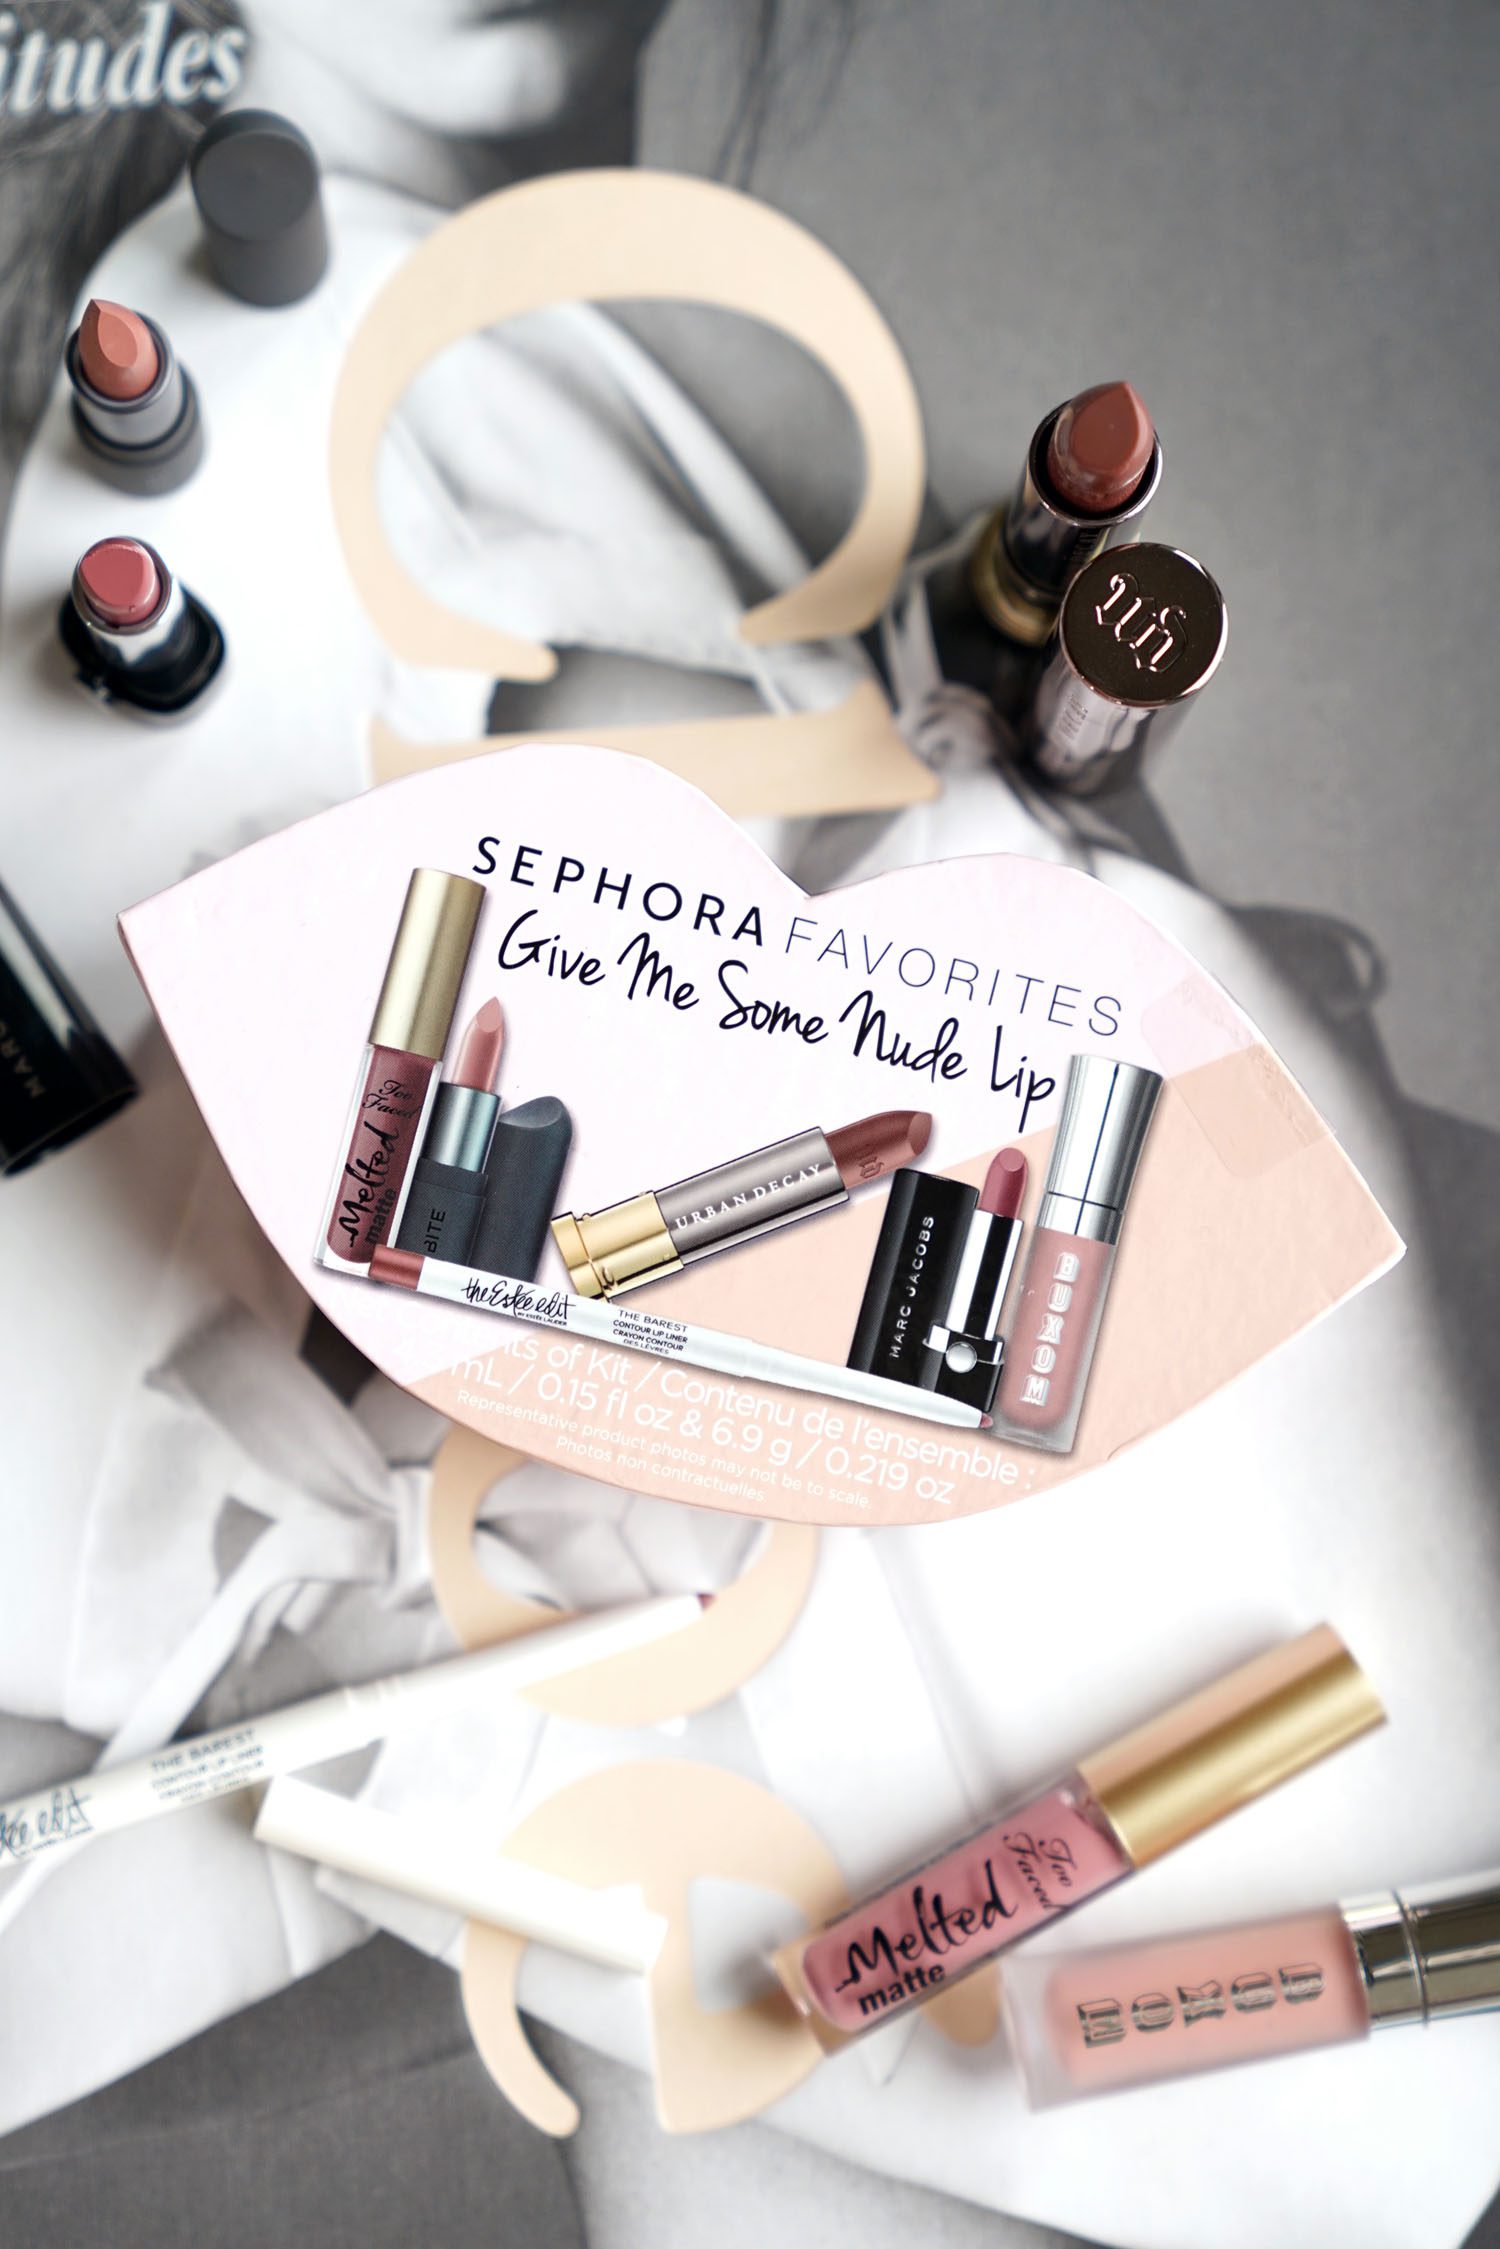
Mini lip products are my weakness and for spring Sephora launched a new Sephora Favorites set called Give Me Some Nude Lip ($28 for a $88 value). It has six lip colors from different brands with a mix of four minis and two full sized products. To me the color theme seems to have some more mauves and neutral pinks rather than all nude shades but I really like all the colors.
In this set you get:
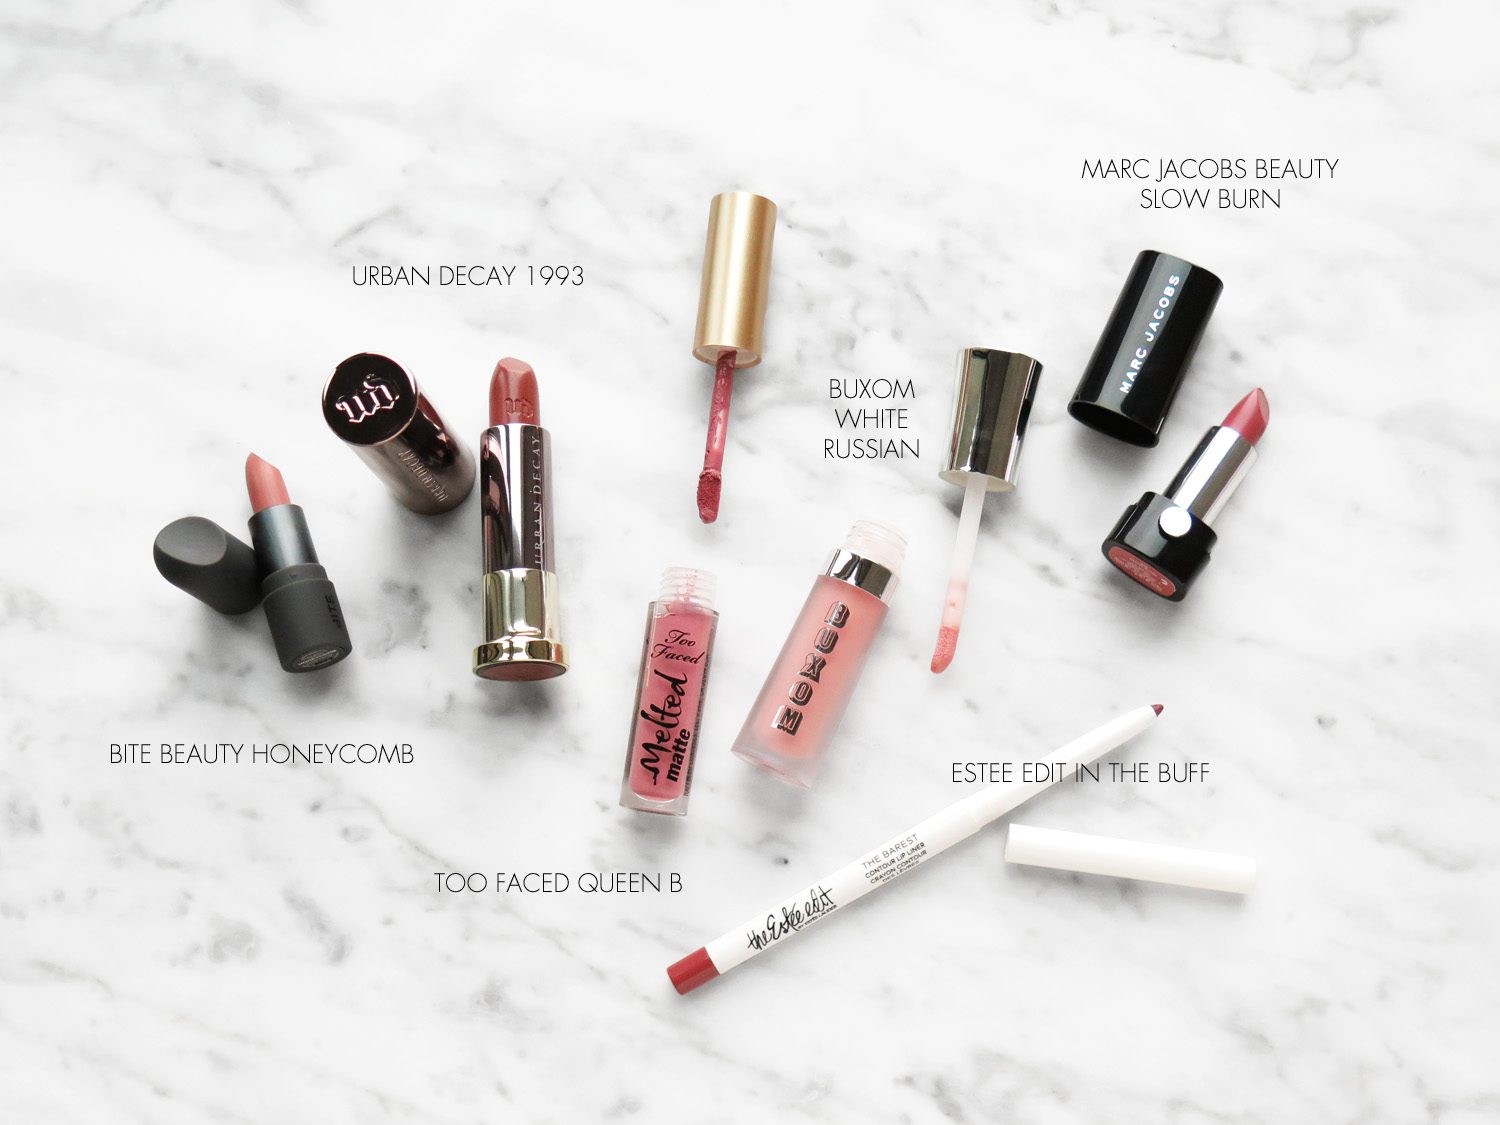
- Bite Beauty Amuse Bouche Lipstick in Honeycomb (0.05 oz/1.55 g) which is a perfect creamy beige, it has full opaque creamy coverage, also reviewed in this post here
- Marc Jacobs Beauty Le Marc Lip Creme in Slow Burn (0.05 oz/1.7 g) I have the liquid version reviewed here which I adore, I thought I had the lipstick version but after checking my stash I found I did not, this has full opaque creamy coverage
- Buxom Full-On Lip Cream in White Russian (0.07 oz/1.55 g) is a sheer white beige gloss that plumps up the lips and has a slight tingly sensation, on me it doesn’t sting but I definitely feel the cooling effects and it has a noticeable tingle, this has a high shine and semi-thick texture but isn’t goopy, also swatched here
- Too Faced Melted Matte Liquidified Matte Long Wear Lipstick in Queen B (0.08 oz/2.3 ml) is a soft light pink mauve, it’s a formula I had been curious about for a while so this set was the perfect way for me to try it, the color is wearable on me for a cool-toned shade and I liked that it didn’t dry to an overly matte finish
- Urban Decay Vice Lipstick in 1993 Comfort Matte (0.11 oz/3.4 g) comes in a full size, it’s a brown shade with a very slight cool undertone, this did indeed feel comforting on the lips and even though it’s matte, it had a soft looking finish that didn’t feel or look dry, based on this I may give the lipsticks another go (from my first experience I found a different finish very dry)
- Estee Edit The Barest Contour Lip Liner in In the Buff (0.009 oz/0.25 g) is a pretty nude rose, I have semi mixed feelings about this one, as a liner it’s medium-sheer so it won’t give full coverage, but it has a smooth texture that is easy to use and doesn’t tug if you line the edges of your lip, I love the color and the finish for a truly bare kind of liner that won’t look too done up, most of my liners though usually have more pigment, but I do think this is one I could get used to

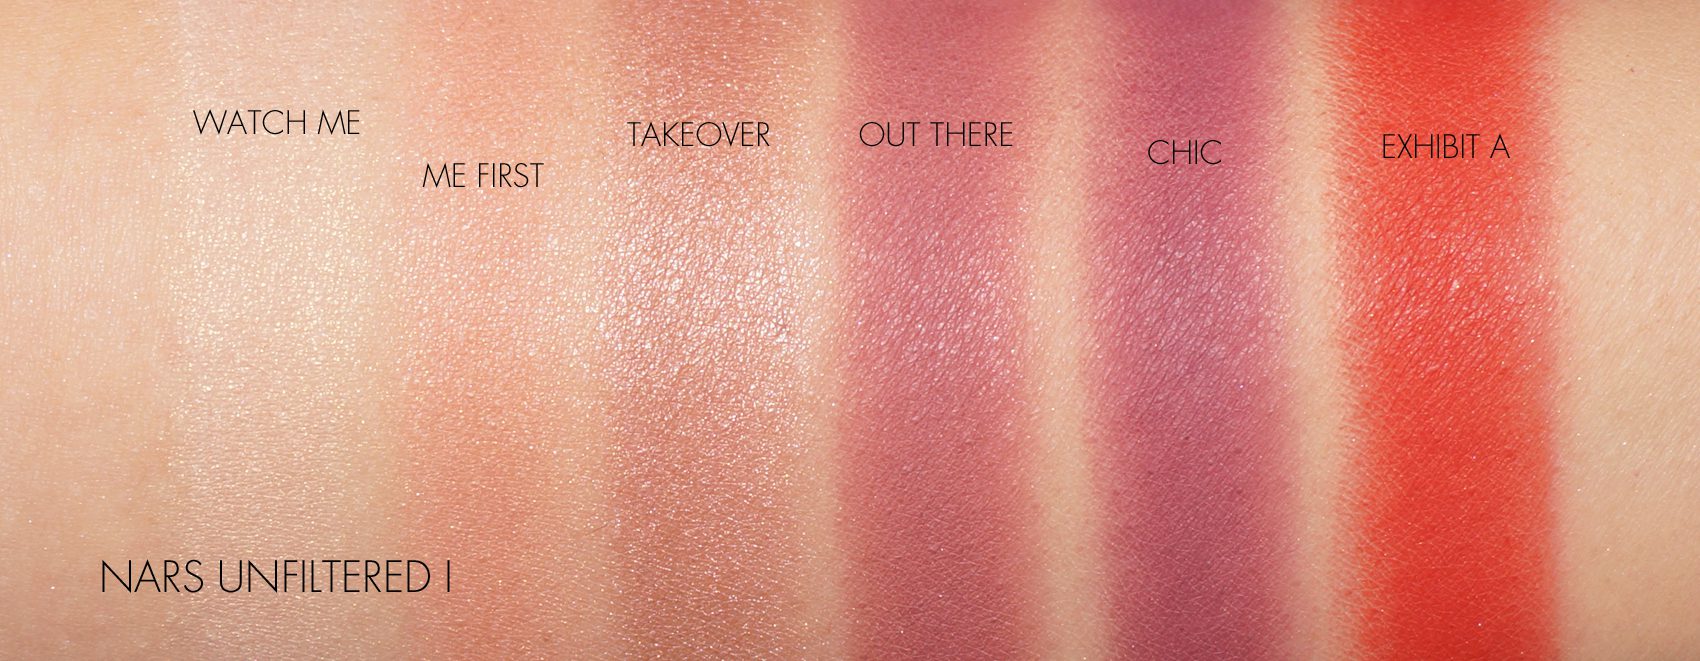
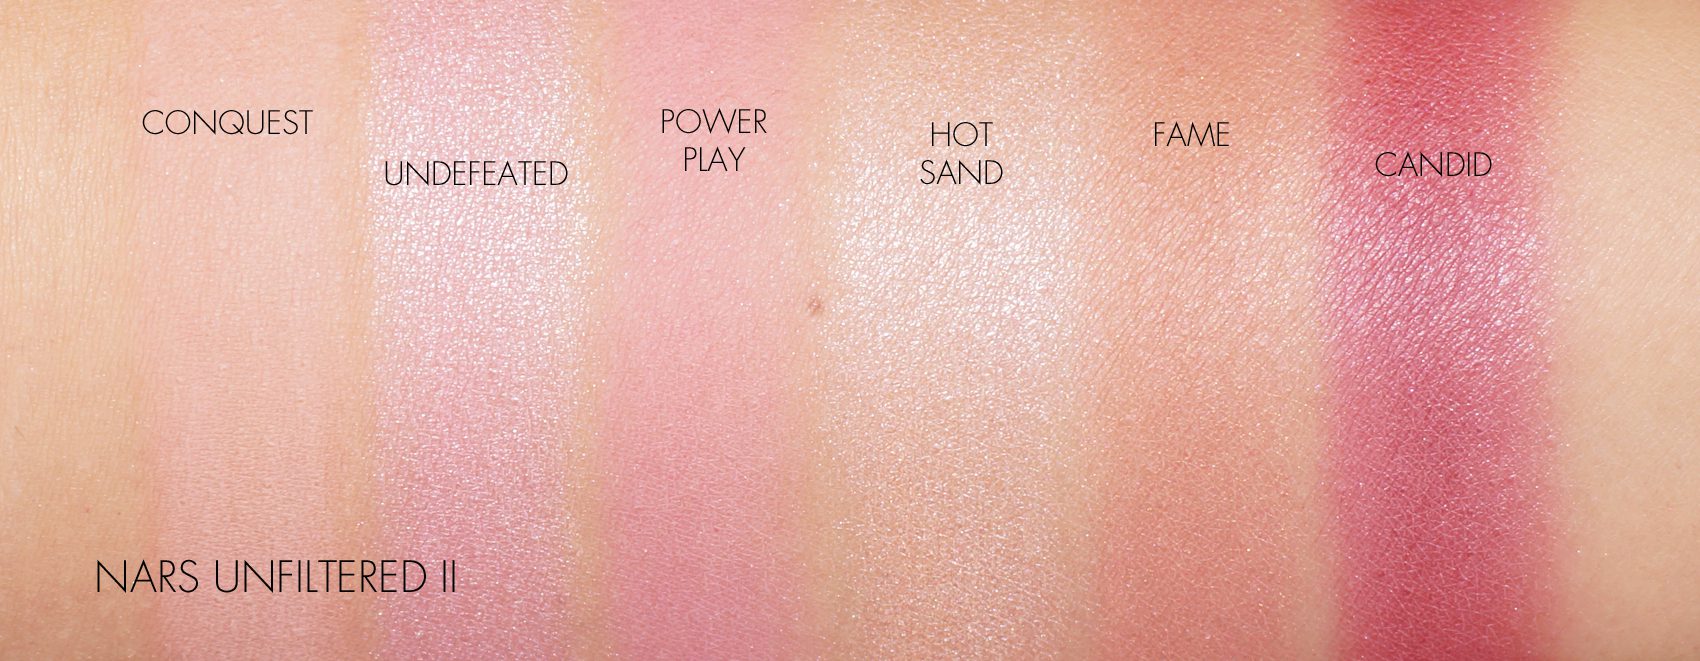
Swatches
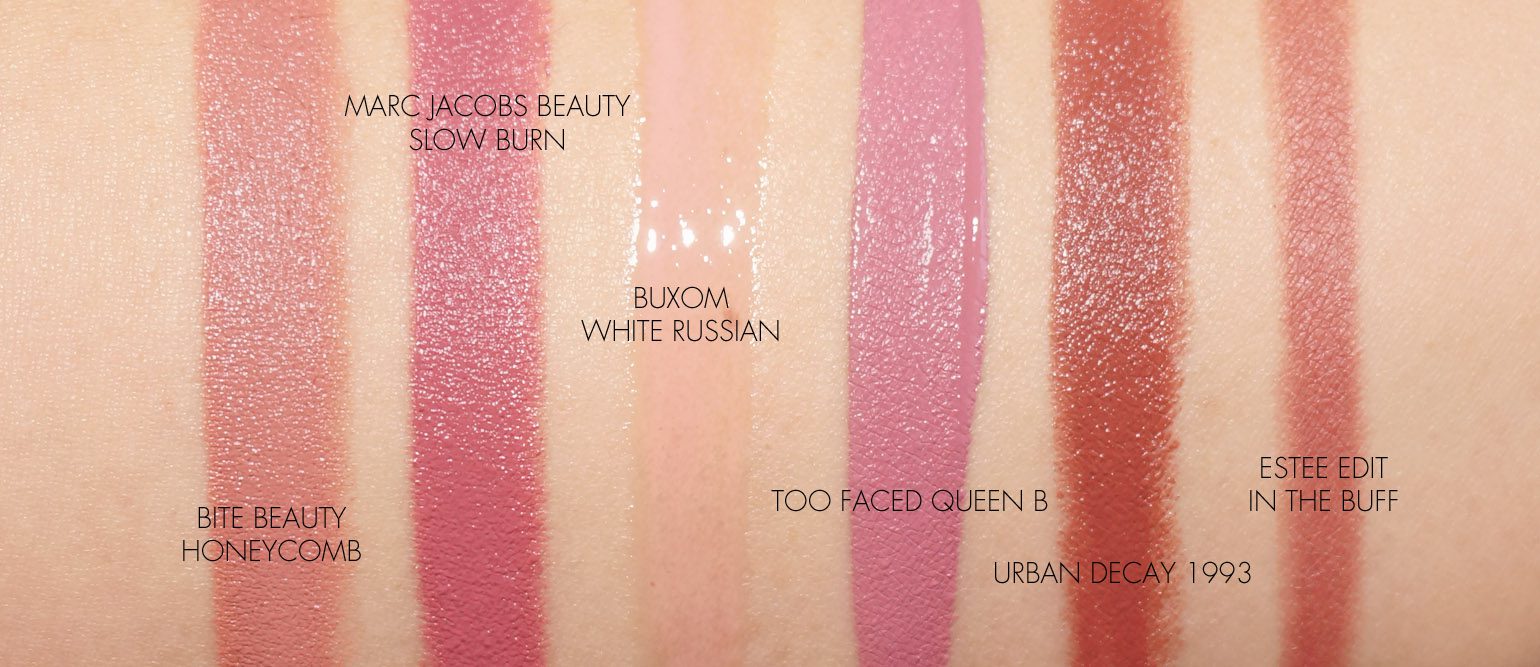
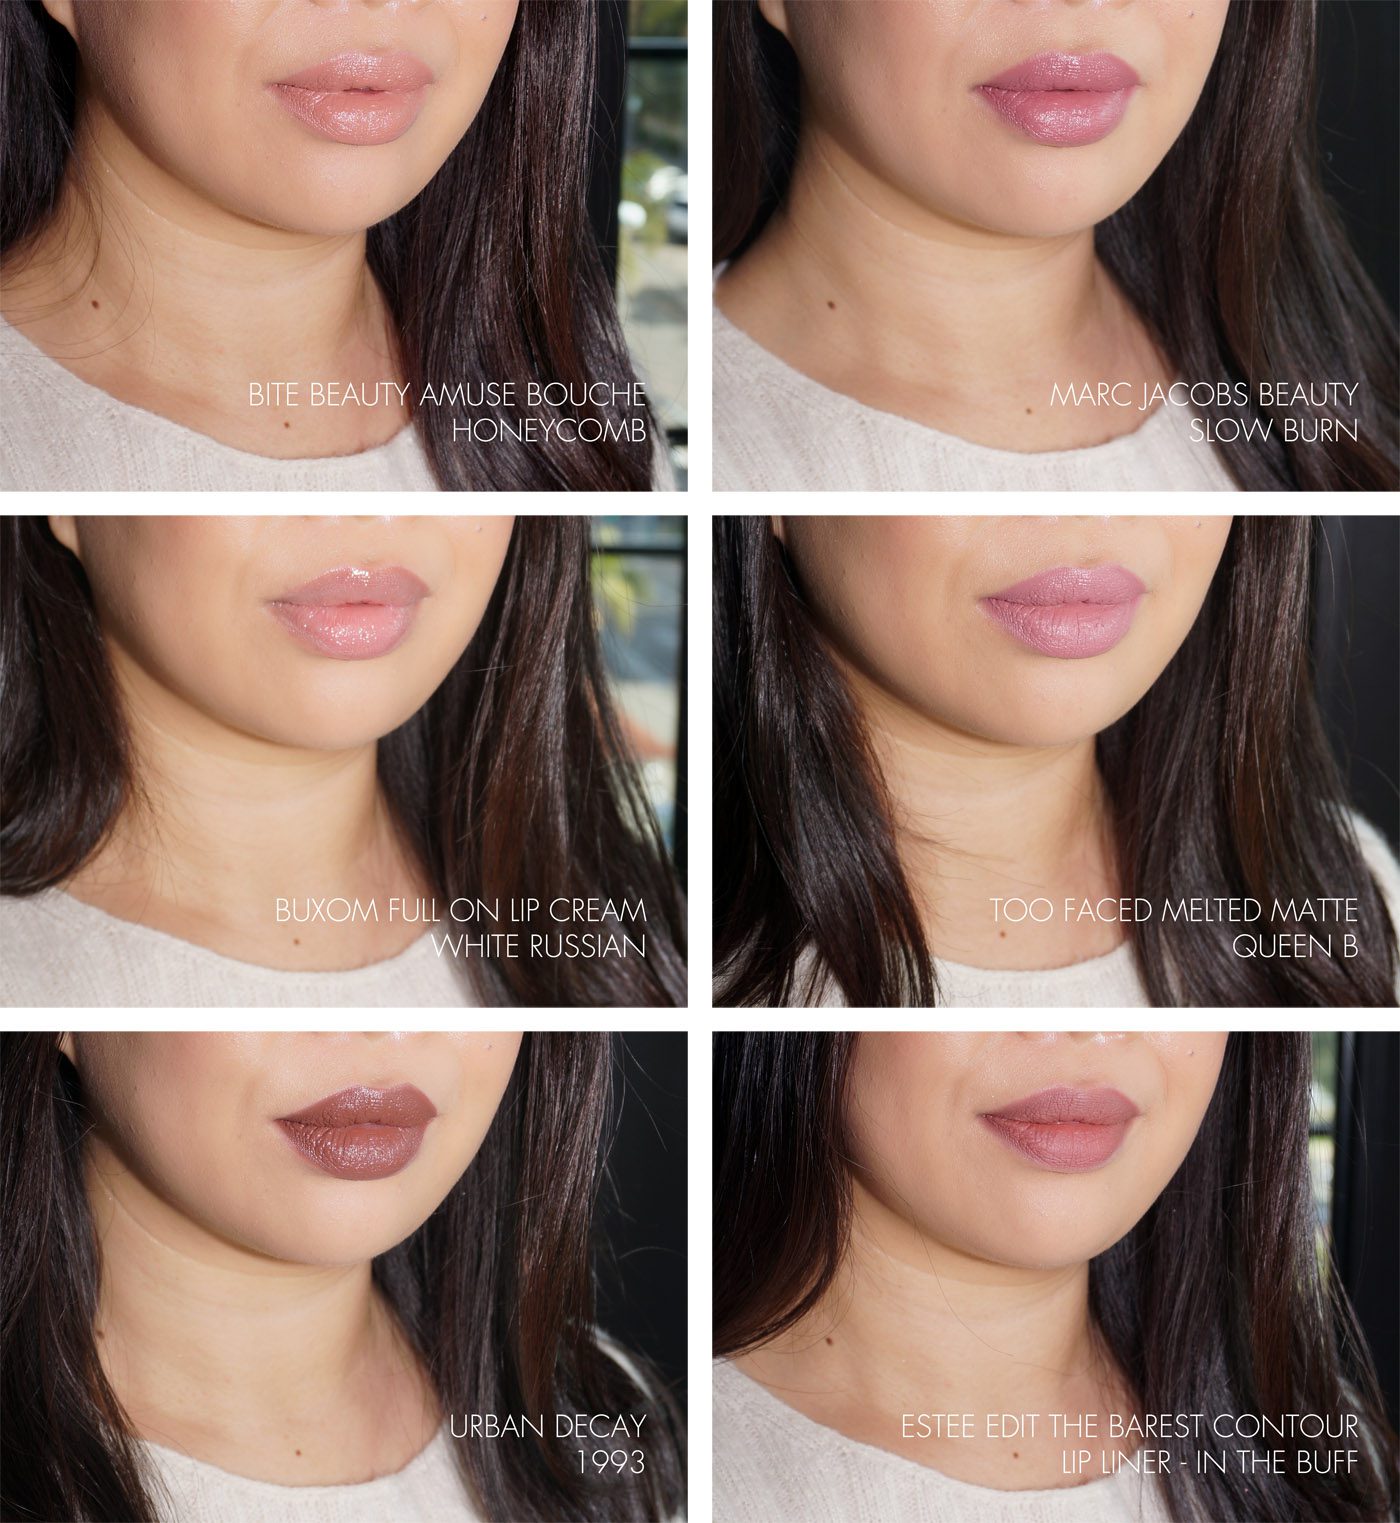
Lip Swatches
It can be easy to get suckered into value sets or palettes. I usually try to stick with a rule that if there are 2 shades I don’t think I’ll use then I’ll try to pass. Sets are easier for me to justify because I can always gift away portions to friends. In this case the $28 price point didn’t seem like it would break the bank and the set had items I was interested in trying. I already have Honeycomb and White Russian but didn’t mind having another one of each, especially since they are minis.
For those wondering if you need both the Marc Jacobs Beauty Slow Burn Le Marc Lip Creme Lipstick and Liquid, the colors are identical. The liquid is more opaque with a glossy sheen while the lipstick has a more matte/satin finish. I would say it’s a tough pick – right now I have a slight preference for the liquid version, but they are both excellent.
To me the only real “nude” is Bite Beauty Honeycomb but I know everyone has a different take on what they think the color should look like. Overall I think the set has a great mix of shades that are neutrals but they are all very different from each other.
If these colors are up your alley then I think this is a great buy – you’ll use up all the colors because of the size and it’s a great way to try six formulas and brands at an affordable price. If not then I’d say save the $ for something you think you’ll really love.
The Sephora Favorites Give Me Some Nude Lip can be found online and in stores at Sephora for $28. These sets are limited-edition and usually stick around for a season.
Have you tried any of these formulas yet? What did you think?


