

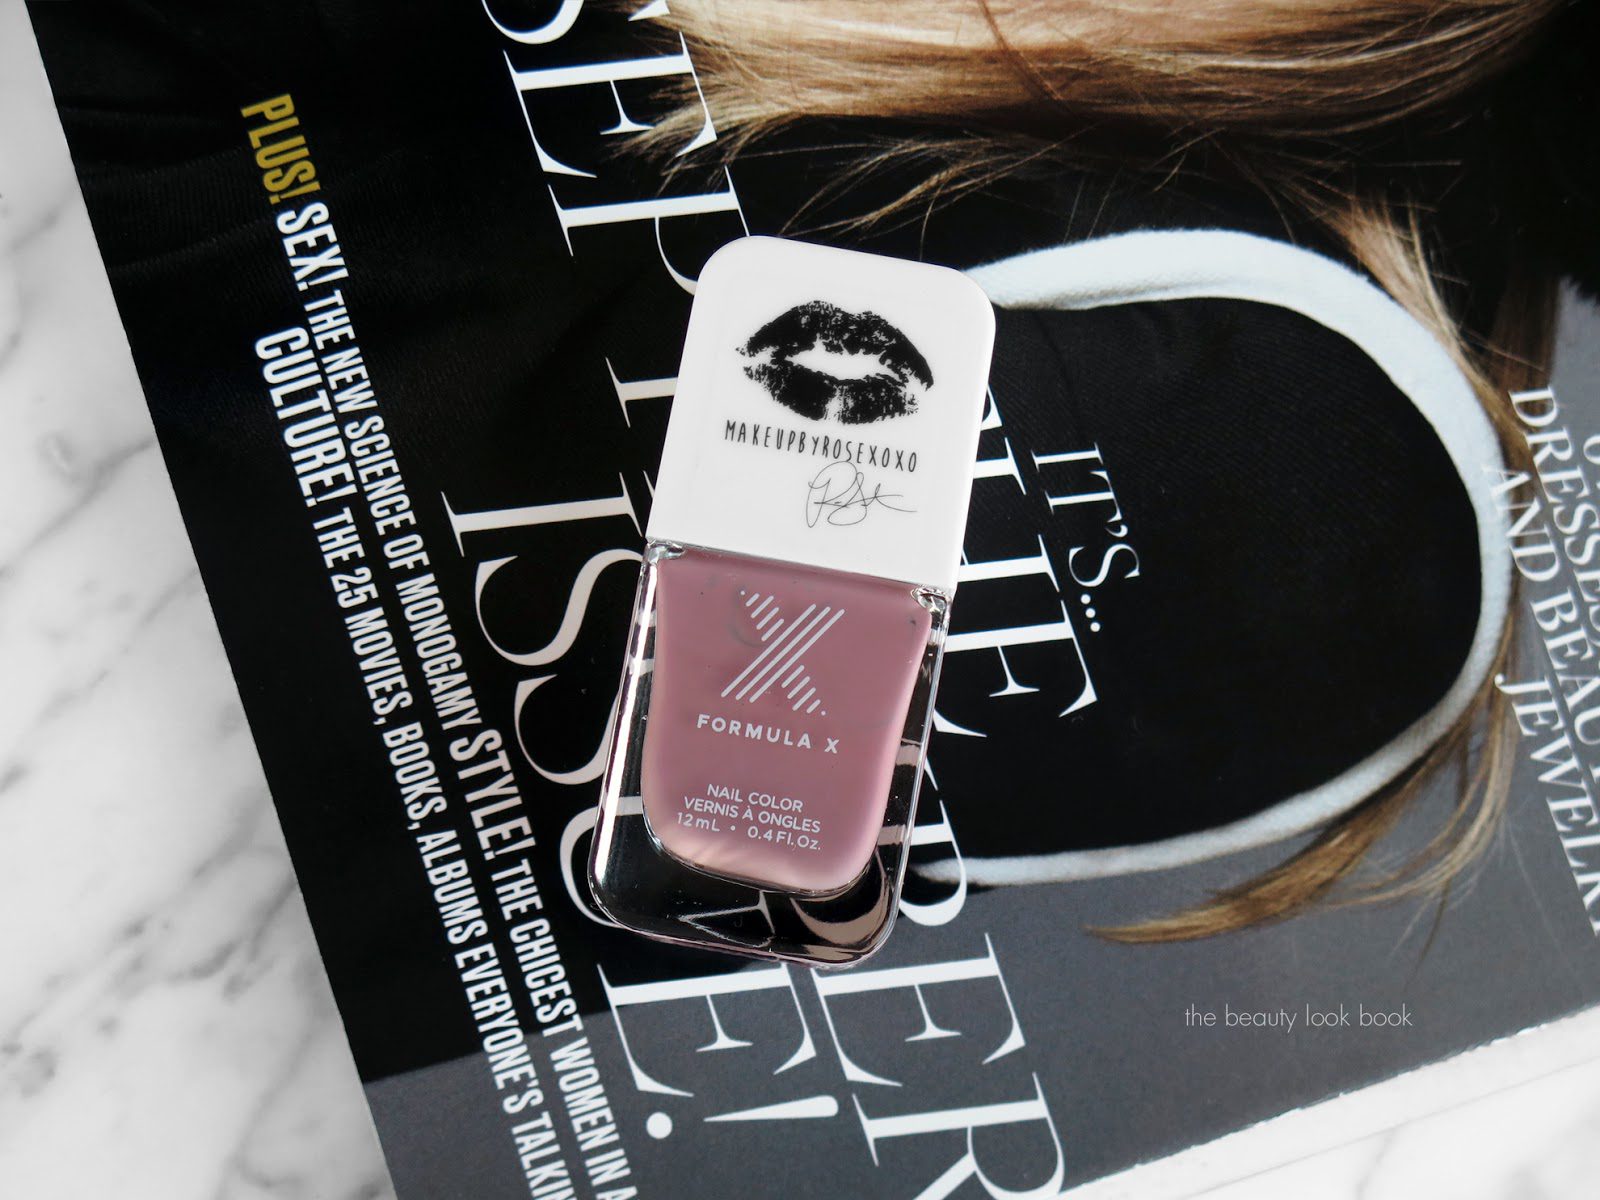
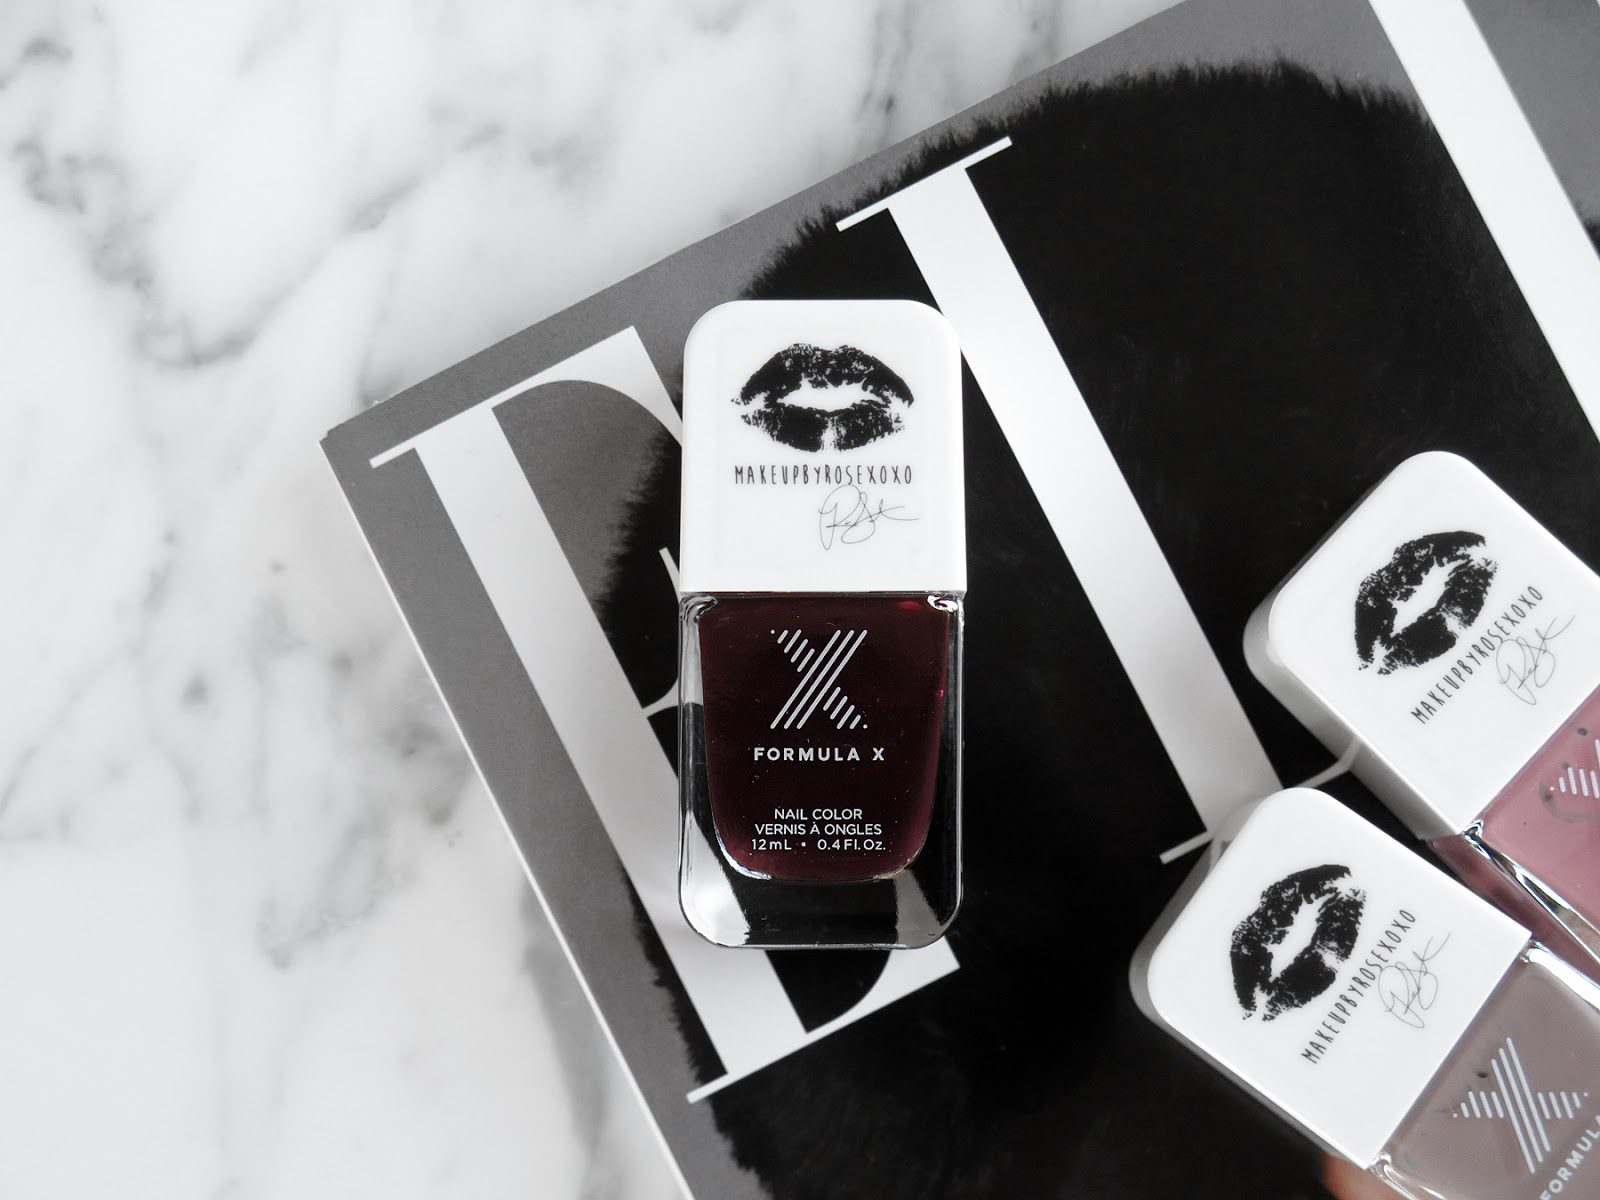
The latest launch of Formula X #ColorCurators caught my eye in stores with three fall-perfect opaque cream colors for the nails. For the month of August Formula X teamed up with Rose Siard of Makeup By Rose XOXO. After testing out the first month’s launch I decided to pass on all the other collections launched each month as none of the colors seemed to jump out to me. Seeing the three Makeup By Rose colors in store immediately stood out though. I swatched them in store before deciding to purchase all three and was impressed with how opaque the colors were.
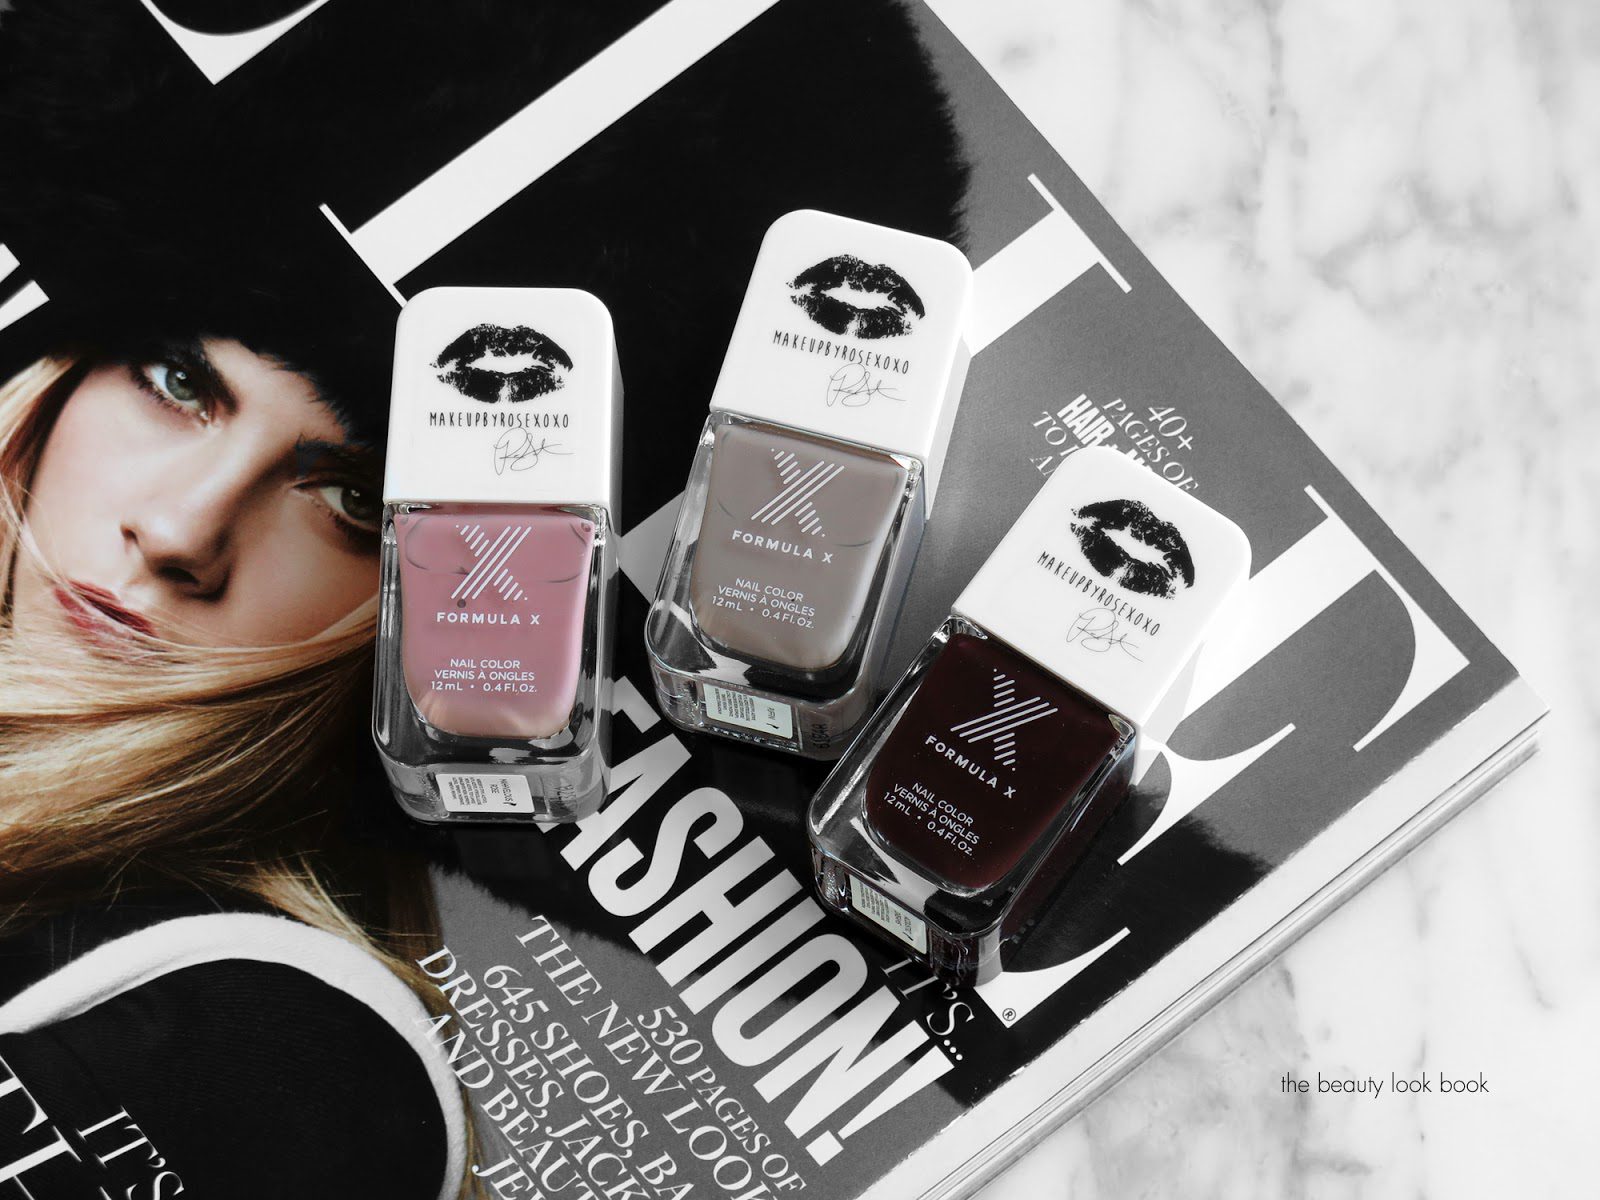
There are three colors in the Makeup By Rose XOXO Edition ($12.50 each, limited-edition, exclusive to Sephora). The colors are all full-coverage creams and are one-coat wonders. The only thing that prevents me from giving these a 100% thumbs up is the brush. I’ve tried Formula X a number of times before in different formulas and don’t know why I seemed to have issues with this launch. Perhaps it’s due to the fact that I’ve been playing with other brands recently and have been completely spoiled by the perfect nail brushes from Dior Nail Polish and Louboutin Nail Colors.
With a little bit of practice I can get smooth even coverage. It took a few tries and a few re-do attempts. The brushes just aren’t as good as other brands like OPI, Chanel, Dior or Louboutin in the sense that those brands have bristles that are evenly cut and well put together. The ones from this batch of Formula X seem by comparison unevenly arranged, cut and just not as well made. It’s possible I got a bad batch. However I will note that I’ve been testing out the new System Xcel Set as well and 2 of the 3 items have poorly made brushes as well (review on this soon) which surprised me because I consider the Original System to be almost holy grail material for me.
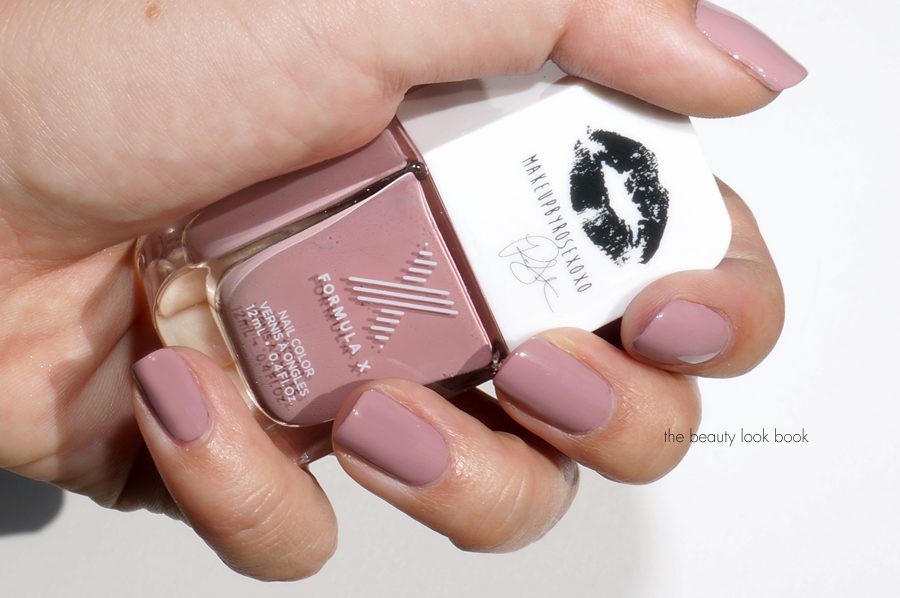
Onto the three colors, up first is Mahhvelous Rose which is the perfect mauve rose. On my complexion it darkens a bit once it dries. I think this will look absolutely amazing on tan to deep skintones. I like it on my skin right now for a pretty polished rose look. I’ve actually been searching for a shade like this for a long time, but one that is about 1 to 1.5x lighter. Still this one is pretty darn good. Out of the three this had the best formula in terms of application.
Swatched with two coats:
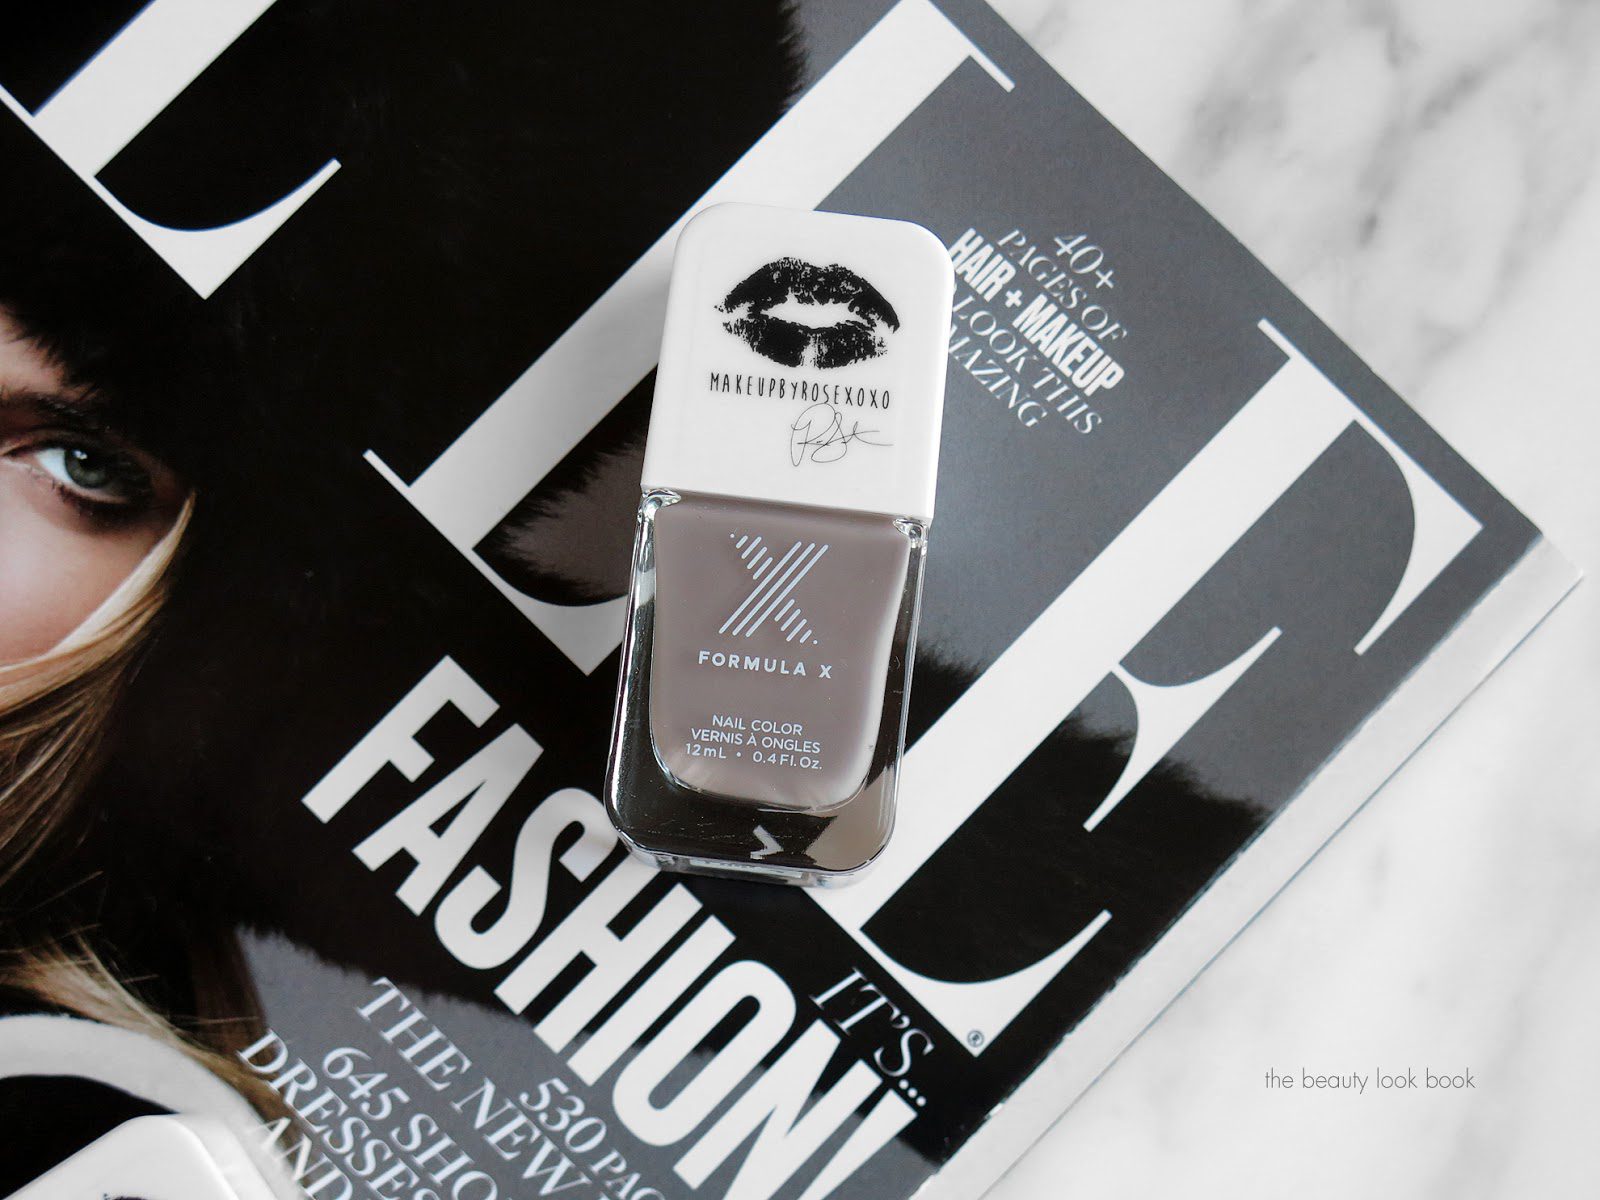
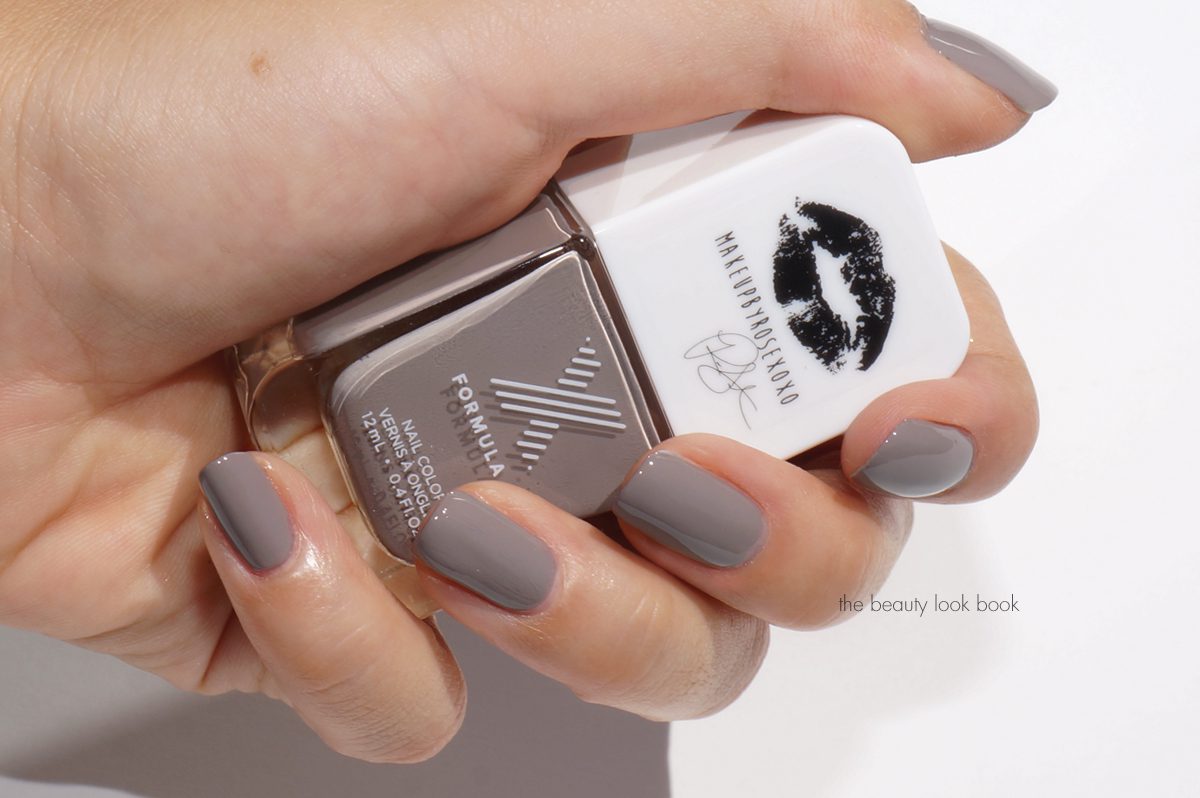
Next is Puffin! which I think has the cutest name. It’s one of those gorgeous grey mink shades that has enough cool tones to prevent it from being too brown, khaki or beige. On my skin for some reason it pulls more cool-toned once it dries. It’s probably the olive in my skin that makes colors like these look a bit more cool than neutral. It’s not too dark and not too light. In my book it’s perfect color-wise (just wish the brush was better!).
Swatched with two coats + the System Xcel Top Coat:
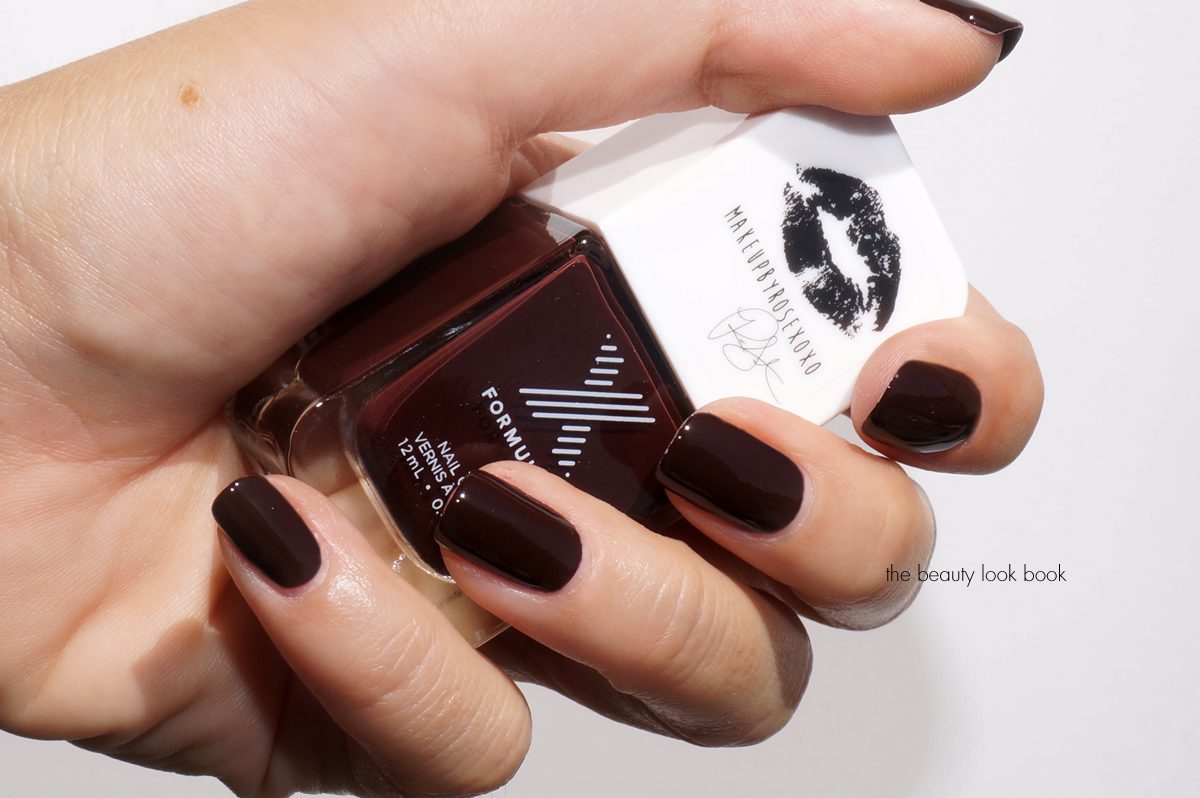
Last but not least is Acoustic Dreams which is a one-coat wonder. It’s chocolate vamp perfection. In terms of vamp colors it’s pretty standard, but for those who want a less expensive alternative to vamp shades from Dior, Chanel or Louboutin, this is definitely a good one to check out.
Swatched with just one coat plus the System Xcel Top Coat:
One last look below:
I’m really particular with nail colors and nail polish formulas. I know we all have our favorites. OPI and Essie seem to be really popular favorites among my readers but for me they never last more than 3 days (Essie gets tip wear within 4 hours for me, no matter what base/top coat combo I use whether it’s the same brand, Seche Vite, Chanel, CND etc). My favorite brands for lasting power, finish, formula and brush are still Dior, Chanel and Louboutin. Formula X also is one of those brands I can get up to 7 days of wear without chipping or tip wear. You absolutely need a good base and top coat though – I find the System base and top coats work well (original version reviewed a few years ago here).
For those who want to try something different from Essie or OPI but don’t want to pay a high price tag, I do think Formula X has some solid colors to check out. For this month’s launch – the colors are perfect enough to make up for the less than stellar brushes (at least for me) and pretty enough to be worth the extra effort. I am happy with my purchase even though they were more of impulse buys in store.
You can find the Formula X #ColorCurators Makeup By Rose XOXO Edition exclusively at Sephora. All shades are limited-edition.
Have you tried these yet? Or any of the other colors from previous #ColorCurators launches? What did you think? P.S. Many of you have asked if I’ll be reviewing Dior or Chanel fall, in particular the new nail polishes that have launched – the answer is yes!


